Simple Steps to Connect Canon Printer to Your MacBook

A Quick Guide On How To Connect Canon Printer To Mac Computer
Steps 1- Establish a Connection Between Printer and Wireless Network via Router
In order to connect Canon printer wirelessly, it is vital to connect printer, computer and router on the same Wifi connection. You can do this by following below steps-
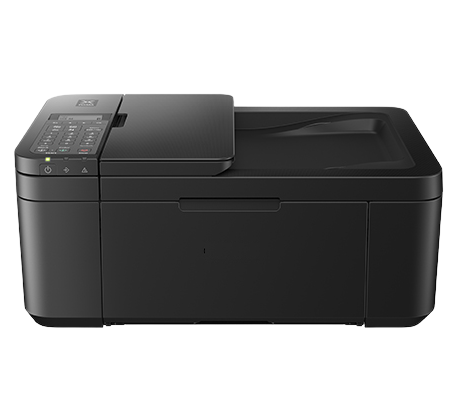
- Turn on your Canon printer.
- Ensure that your router has a WPS button available. Also, make sure that your network is using WPA or WPA2 security protocol.
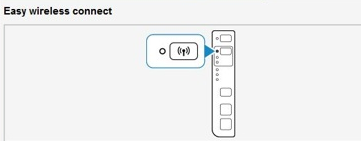
- Now tap on the Wi-Fi button and hold it until the alarm lamp blinks once.
- Here a light in a wifi lamp must blink in blue color. As soon as it happens, go to the router and click on the WPS button.
- Make sure to press the button for two minutes or else the connection will be disrupted.
- If the Wi-Fi light blinks, it means that the printer is searching for the available networks.
- Once the Wi-Fi connects to the wireless router, the power lamp and the Wi-Fi lamp will blink.
- Now wait patiently for the connection to be completed. Once connected, the power light and Wi-Fi lamp will stop blinking.
- Now you will need to download Canon printer’s driver.
- Thereafter, install the driver setup by following the onscreen steps.
- Now your Mac device and Canon printer is successfully connected to your Wifi network.
Step 2- How To Add (Connect) Wireless Canon Printer To Mac
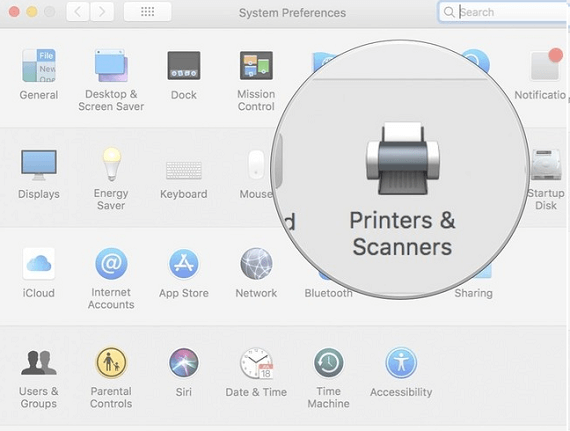
- Once the driver installation completes, click on the ‘Apple’ menu and select ‘System Preferences’.
- Select and open the ‘Printers and Scanners’ option.
- Add your Canon printer by clicking on the ‘+’ option.
- Here, select your Canon printer model from the list of available printers and click on ‘Add’.
- Keep following the installation process to complete the process.
Step 3- How To Connect Canon Printer To Mac Using Wired Connection (USB)
- Firstly turn on your Canon printer.
- Download the Canon printer driver from the Canon’s website. Thereafter, install the driver by following the on-screen instructions.
- Now, connect the USB cable of your printer with your Mac device and printer.
- Now, follow the Mac installation steps as explained in the above section.
No tags for this post.


